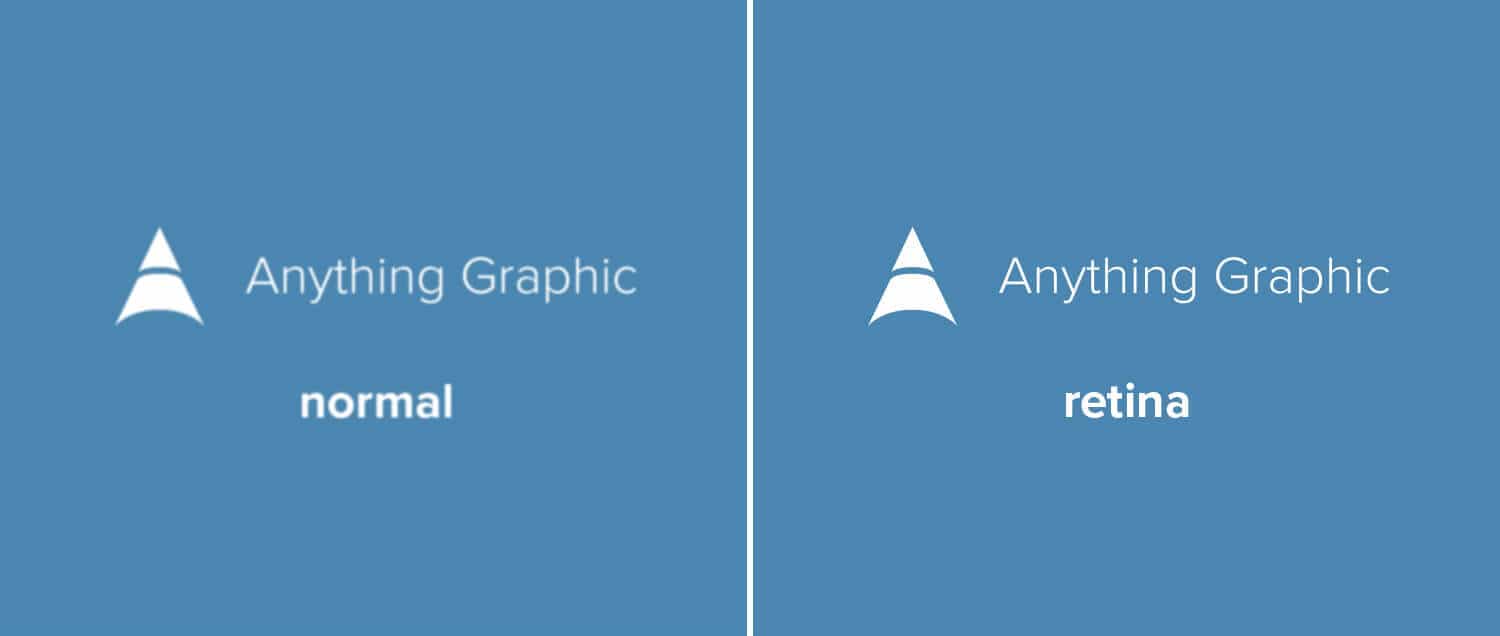
Genesis and virtually all of its child themes use the native Header Image WordPress functionality to place a logo image instead of the default Site Title and Site Description in the header. Using this native functionality makes it easy for clients to update the theme on their own with their company logo.
Usually the child theme specifies the dimensions set to the exact width and height of .header-image .site-title > a. This is not ideal as retina screens are now the standard. It just makes things so damn sexy. We want these dimensions double what they should be (double the pixel density).
Before You Go On
If you are using a pre-built child theme, you will not want to edit the functions.php and style.css files directly. This is bad practice. When a newer version of your theme becomes available, these files will be overwritten.
There are two very useful plugins to include custom functions and styles to your child theme:
- My Custom Functions
- My Custom Styles or JetPack’s Custom Styles
If you’re using a custom theme you’ve built, then go ahead and edit these files directly.
Override Header Image Logo in #Genesis and #WordPress With A Retina @2x Version #wpgenesis Click To TweetHow To Get A Retina Logo in WordPress
It’s pretty easy to do. First we include the markup below in our functions.php file. This is overriding the current functionality with new dimensions of the logo. We want to double the height and width (@2x). In this example, the actual space the logo goes in is 94px height by 264px wide. Since retina screens are a minimum of double the pixel density of normal screens, all we do is double the height and width.
Now in your CSS, just target the .header-image .site-title > a selector and give it a background-size: property with the normal height and width of the logo (half the height and width you specified above.
You now have a retina version of the header logo with WordPress theme. Make sure you also change the WordPress admin login logo and the URL that it points to.
